Building Accessible Tables in the Course Outline Portal
- Important note: tables are often not friendly with assistive technology. Before making a table, ask yourself if there is a better way to convey this information to your readers.
- If you are planning to include a table in your outline, there are a couple of things you should do to make it accessible.
- To be accessible, a table needs a header row (or column) so that screen readers can navigate and communicate your table to students.
- This guide will show you how to build accessible tables in the Course Outline Portal.
Option One: Copying from Microsoft Word
- You have the option to make your table in Word and then copy it over to your course outline. This can be a good option because you are likely already familiar with how the table tool works in Word.
- First, build your table. Include the columns and rows necessary to record all your information. Leave out the title row/column. We will add that in the portal.
John Smith 12345678 Political Science Susan Jones 87654321 Chemistry - The above table includes columns for first name, last name, student number, and major. We will copy this over to the portal.
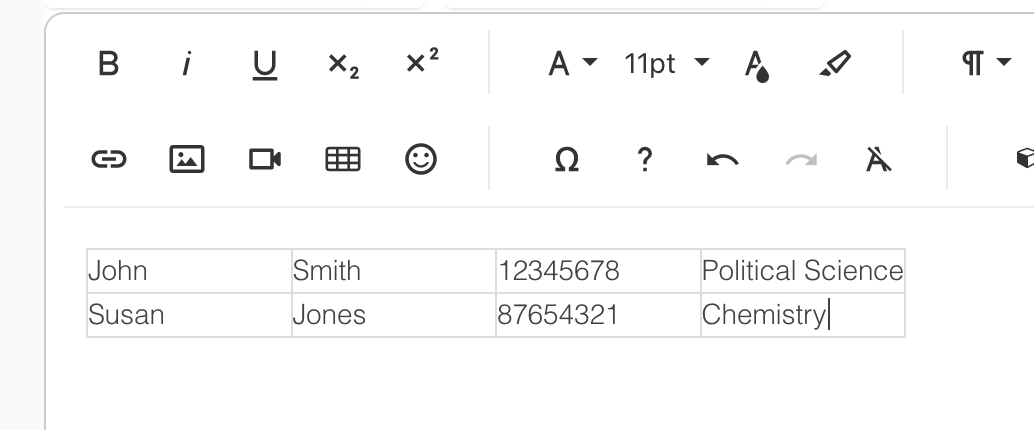
- Your next step is to add a header row. This is where you give the title of each column in your table. If each column in your table has a different category of information, you’ll use a header row. If each row is different, you’ll use a header column. The above table will need a header row.
- Highlight the table. A customization menu will pop up. You want to select “Table Header,” which is the top left option. This will create a header row for you.
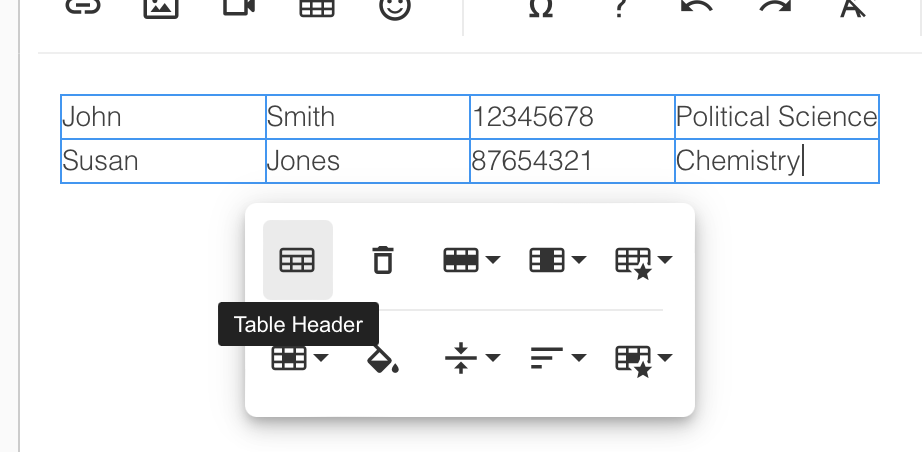
- The header row will have a tint for a background colour and the words within it will be bolded. You can then label each of your columns.

- Depending on the nature of your table, a header row may not be right for you. If each of your rows has different types of information, you will want a header column.
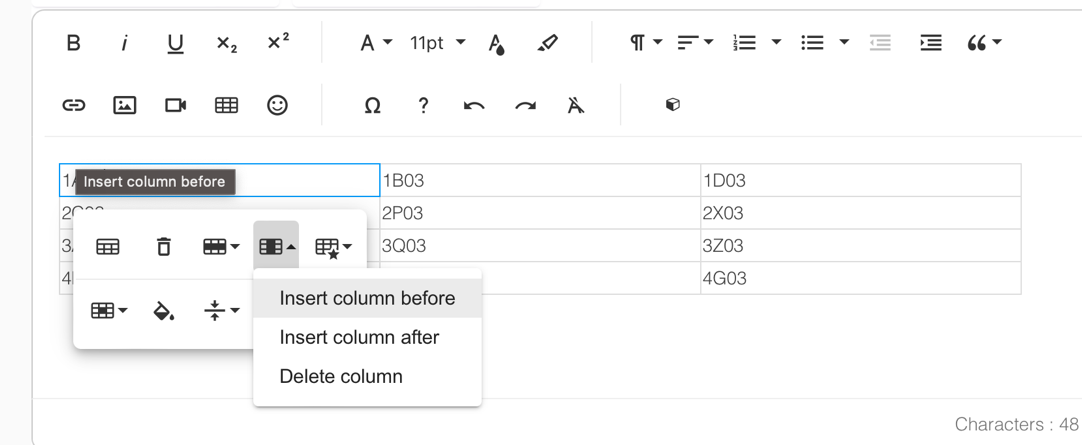
- Make your table, again leaving out the labels that will go in your header column. Copy it over to the portal. Select a cell in the first column to bring up the customization menu. Navigate to “Insert column” and then click “before.”
- Highlight the new column to bring up the customization menu. Select “Cell Background.” Choose a colour for the background. McMaster’s neutral tint is #dbdbdd.
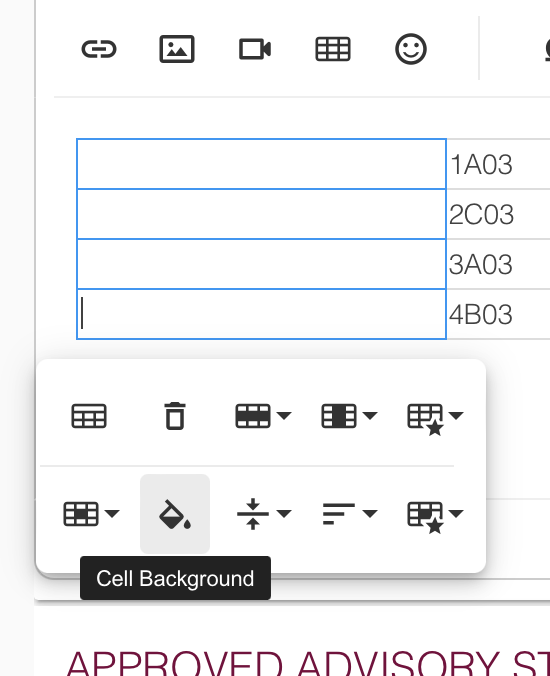
- Type in your labels. Make them bold. You have now finished your table.
Option Two: Building the table within the Course Outline Portal
- You can build your table entirely within the component editor. In the menu at the top of the editor, select “Insert Table.”
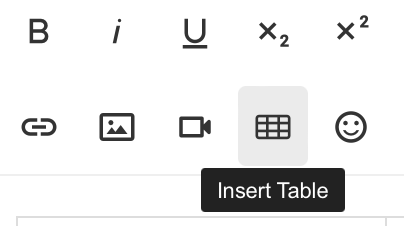
- Choose how many rows and columns you want. Subtract one that will be your header row/column.
- Enter the information you want in your table.
- Once you have your information ready to go, highlight the table. A customization menu will pop up. You want to select “Table Header,” which is the top left option. This will create a header row for you.

- The header row will have a tint for a background colour and the words within it will be bolded. You can then label each of your columns.
- If you need a header column, select a cell in the first column to bring up the customization menu. Navigate to “Insert column” and then click “before.”

- Highlight the new column to bring up the customization menu. Select “Cell Background.” Choose a colour for the background. McMaster’s neutral tint is #dbdbdd.

- Type in your labels. Make them bold. You are now finished your table.
